ALERT: Winter weather is expected throughout much of the US beginning Friday evening, January 23, through Saturday evening, January 24. While our production facilities are operating as usual, transit times may be impacted due to weather-related transportation issues. If needed, you can track the status of your orders at any time through our online portal at MyAccount
Customer Support and Website Accessibility Assistance: 800-321-1614
3 Mistakes to Avoid When Taking Digital Impressions
New West Staff
November 22, 2022
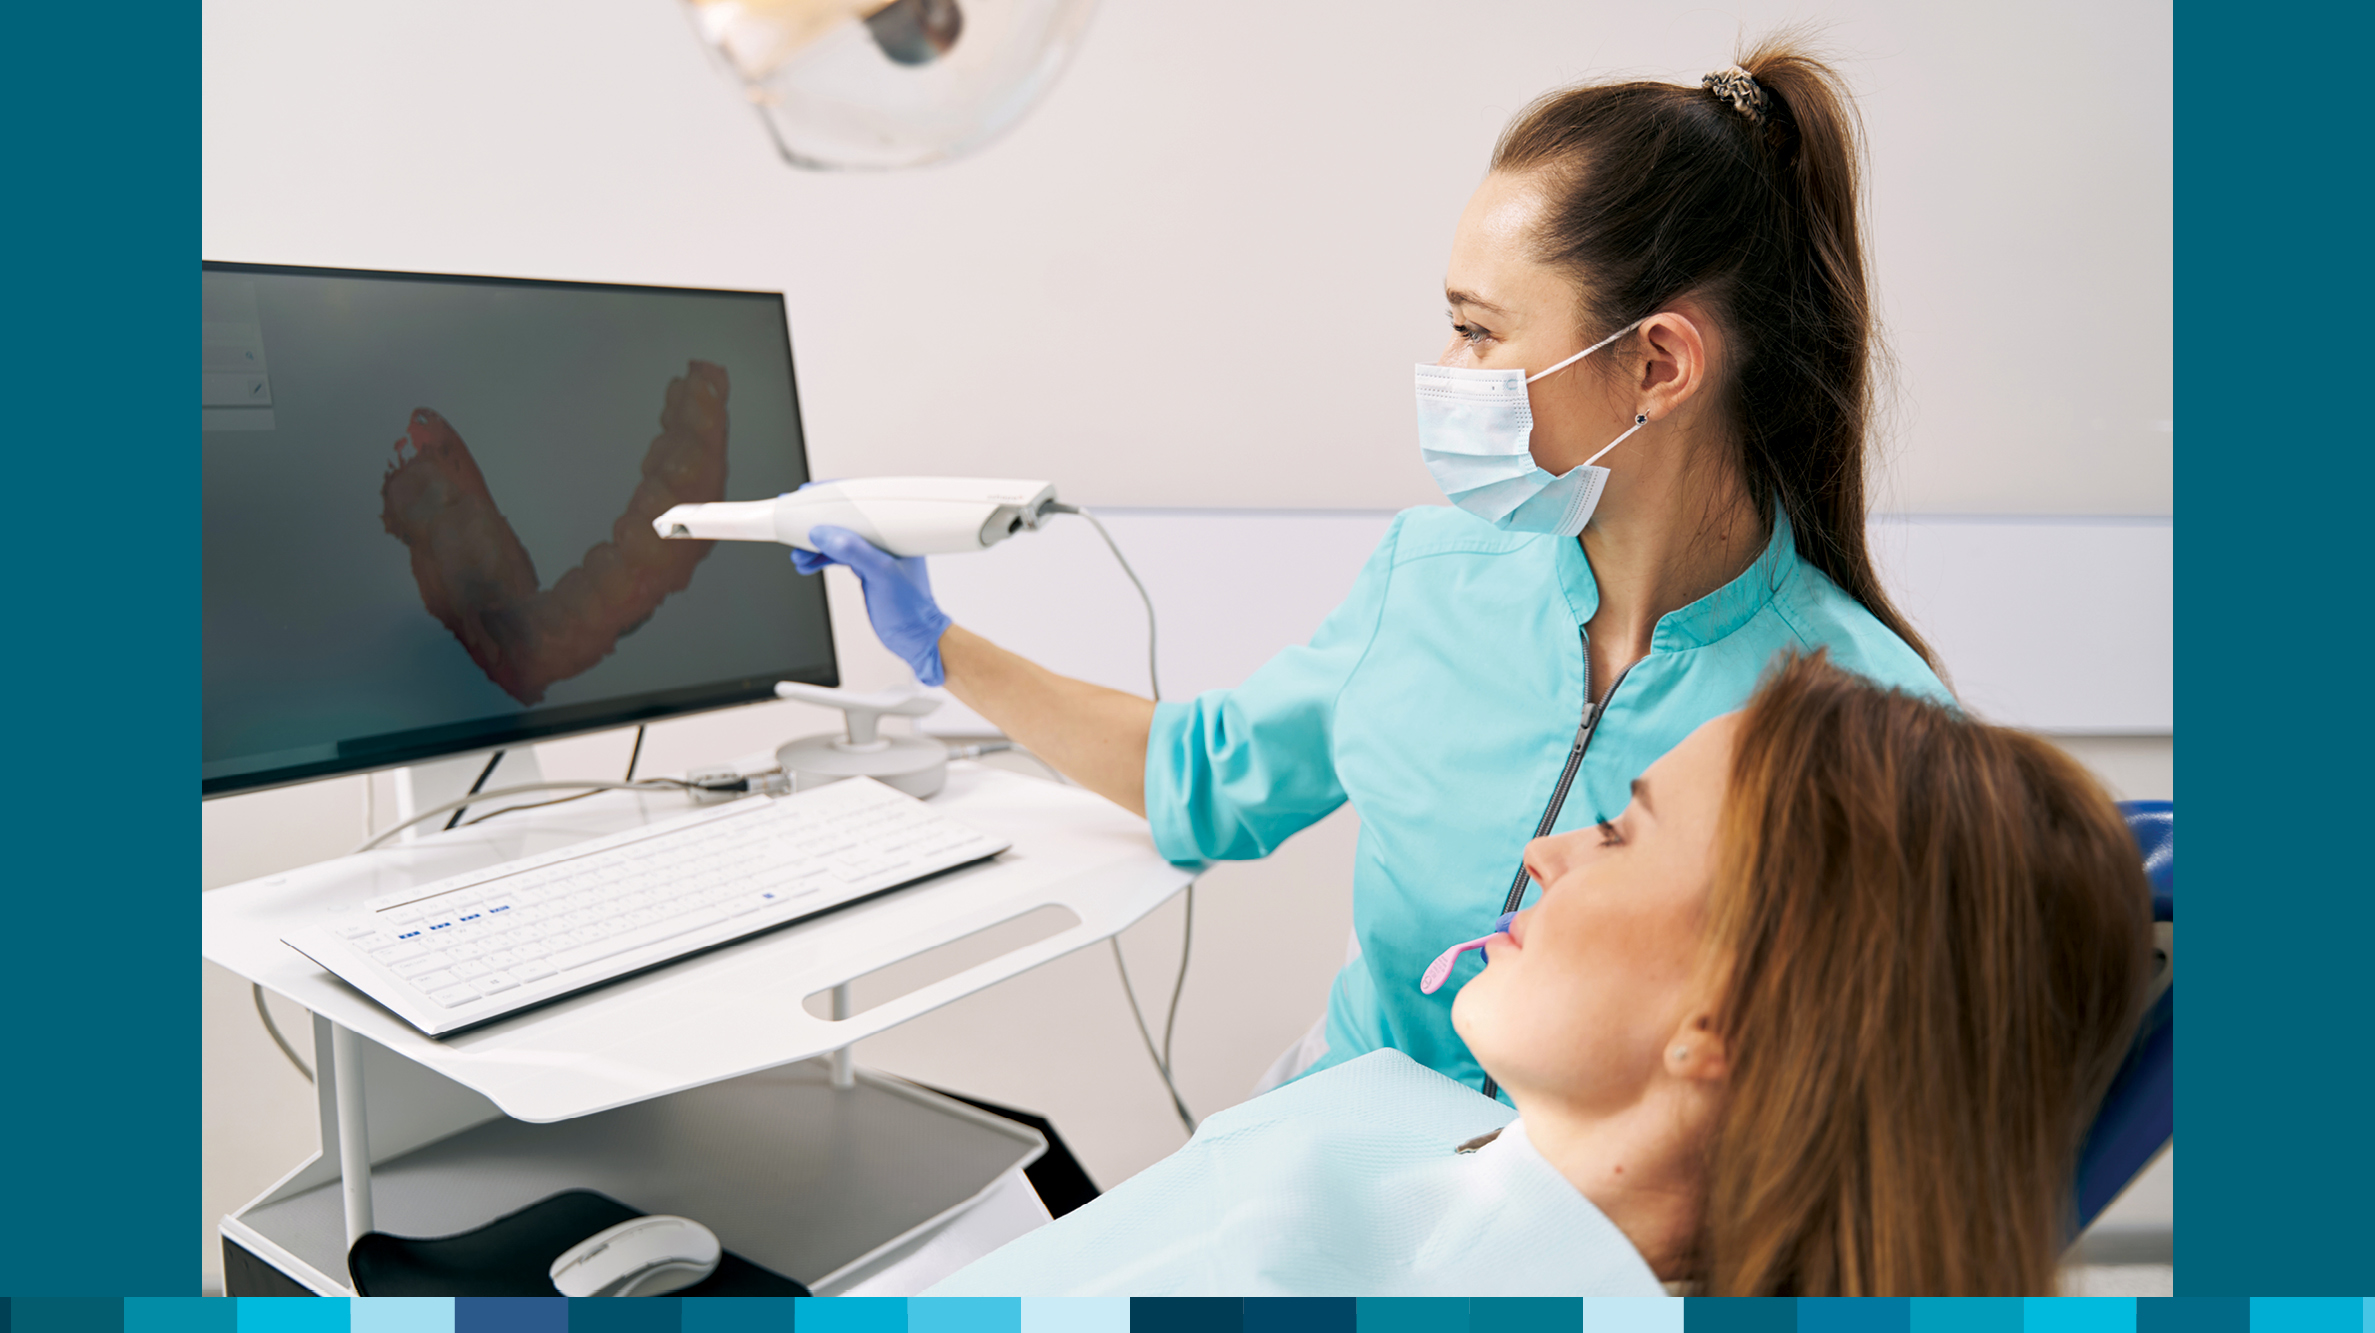
When done correctly, taking digital impressions with an intraoral scanner can be even more effective than traditional impression taking methods. Once you get the hang of it, taking digital impressions can save you time and money, improve your workflow and offer a better patient experience.
New West is dedicated to making your transition to digital dentistry smooth and easy. This blog post outlines three potential challenges that can arise when taking digital impressions and how you can avoid them. That way, you can focus on providing superior care to your patients without wasting time on resubmitting impressions to the lab.
1. Missing Scan Information
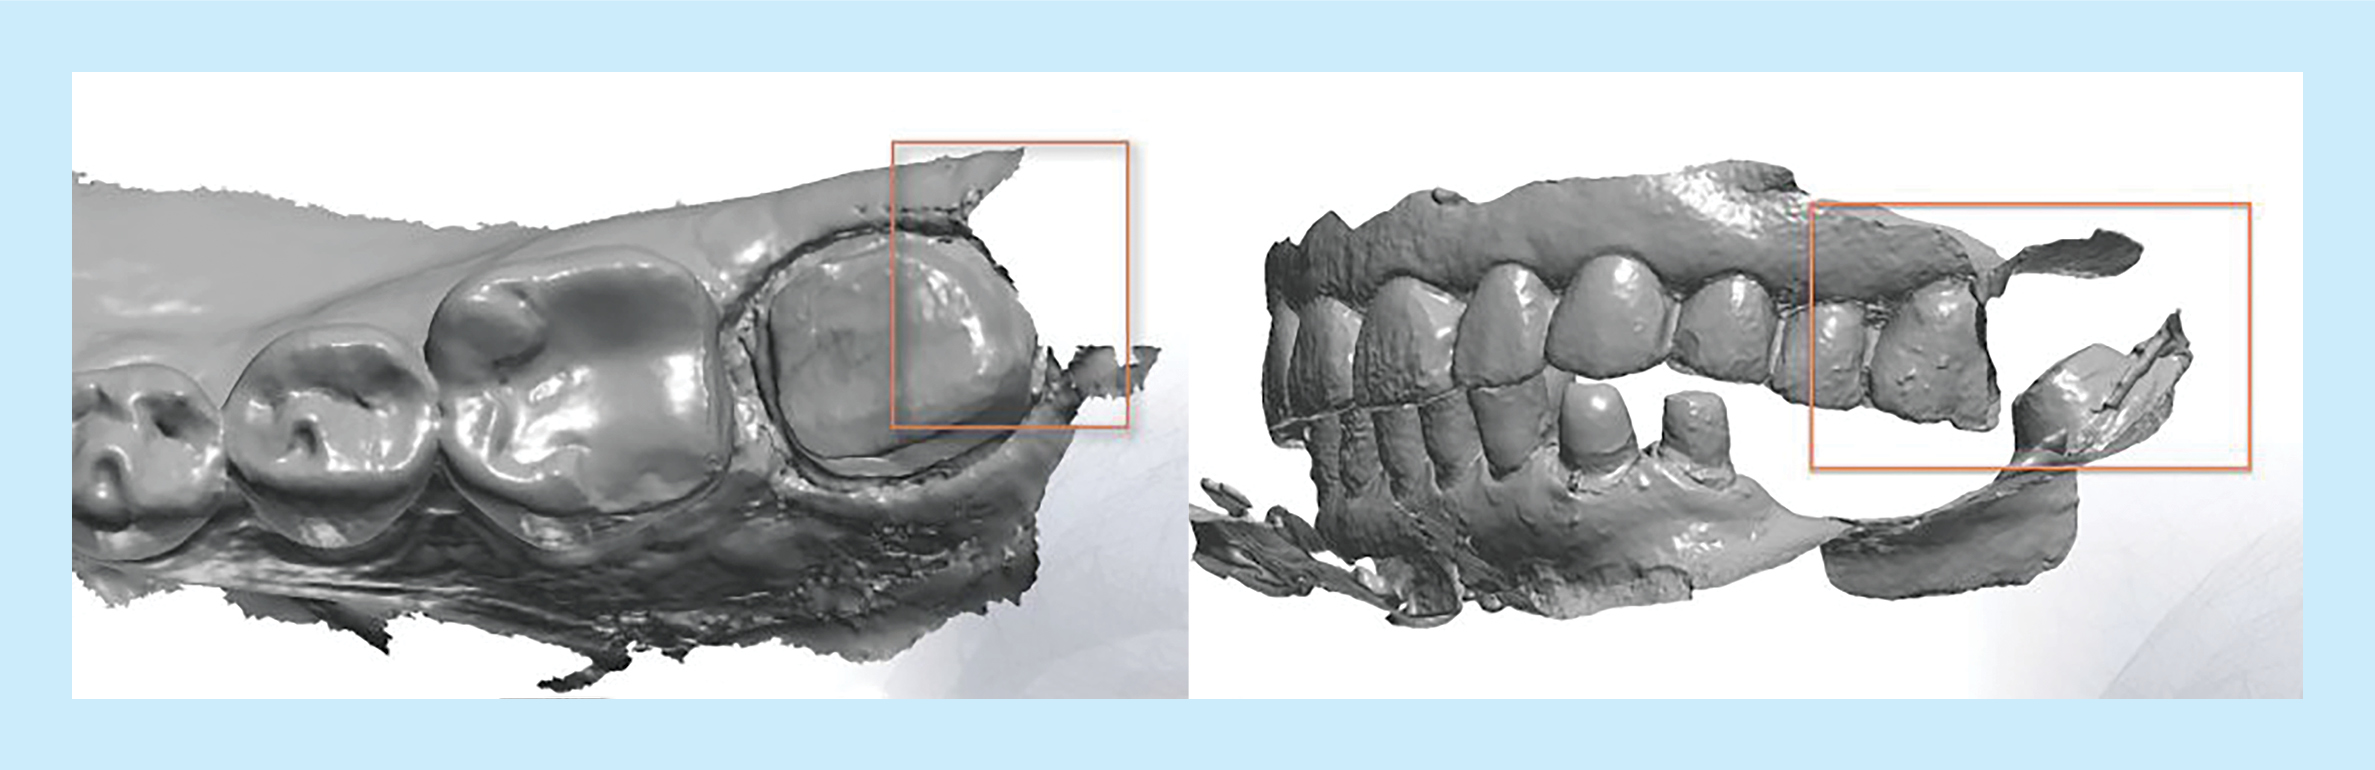
The first common issue that we encounter as a lab is missing scan information. This occurs when the scans are taken too quickly or certain areas of the mouth are not properly covered by the scanner, making the submitted impressions look like they have blank spots or auto-generated surfaces. These imperfections can result in an inaccurate scan.
When scanning, be sure to check if there is any missing data or tooth structure.
The most common areas where these lapses in information occur are the mesial and distal surfaces of teeth adjacent to the preparation. This can mean that the contacts of the final restoration may not be accurate, causing a poor fit that is uncomfortable for the patient.
The best way to avoid this is simple: practice. The more digital impressions you take, the more comfortable you will be using the scanner wand. Soon, you’ll determine the best ways and angles to hold it in order to scan certain parts of the mouth.
Additionally, most intraoral scanners allow you to see in real time what is being captured. You should always be checking the scan and examining the quality, looking for flattened areas, missing information and distortion. Checking the scan will become second nature as you get more comfortable with digital impression scanning. If you feel like you need some extra help, there are courses, videos and support networks than can help you get the hang of it.
2. Distortion Caused by Moisture
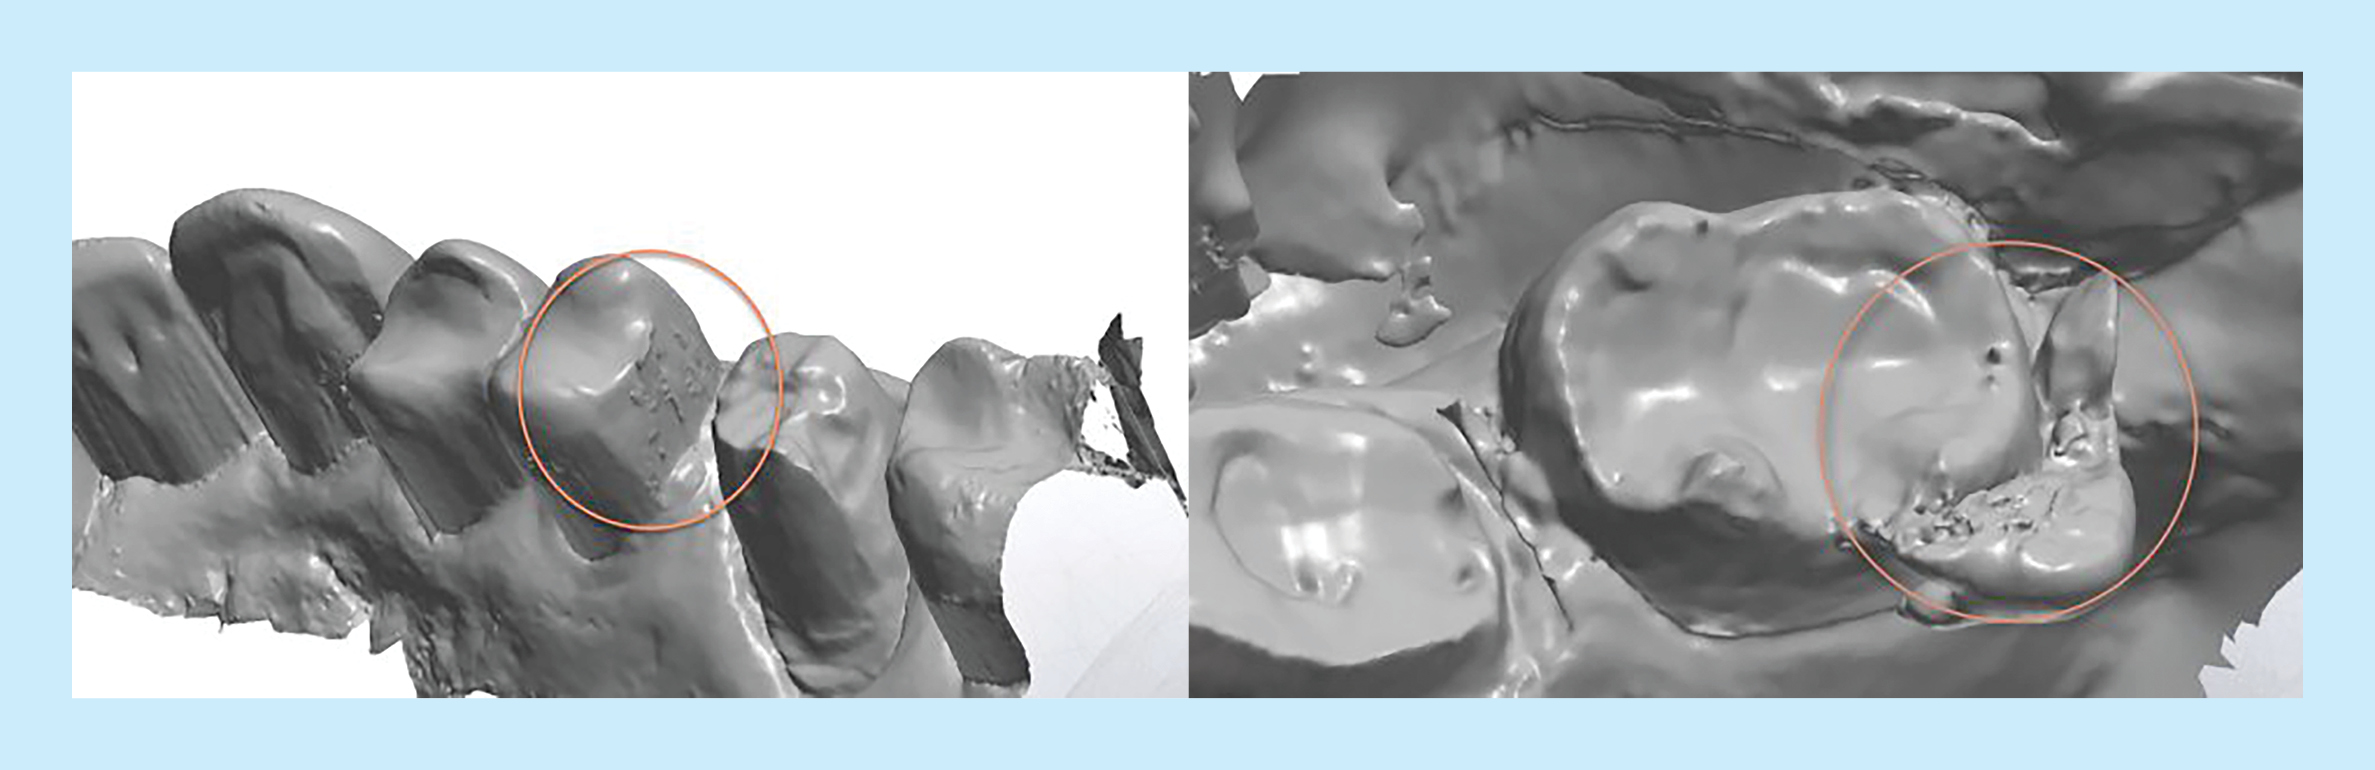
Of the three issues, this one is the easiest to fix. It is caused by excess moisture left on an area, causing the scan to look distorted or bubbly.
Surfaces with too much moisture can make the scanned area look bubbly and distorted. In some cases, it can completely remove the tooth from the scan.
You can avoid this issue when preparing for the scan. Ensure that the tooth surface is dry, using a saliva ejector and some cotton rolls to remove moisture. Cotton-roll material placed against the buccal mucosa can help control moisture during the scan itself. For mandibular scans, place cotton rolls in the lingual vestibules to help absorb moisture. You can also dry the scanner wand lens and ask the patient to refrain from closing their mouth after you dry the surface. If there is space, use a saliva ejector during the scan.
By doing these things, you not only ensure better quality scans, but you also save time by limiting the need for rescans in the future.
3. Misalignment in the Bite Scan
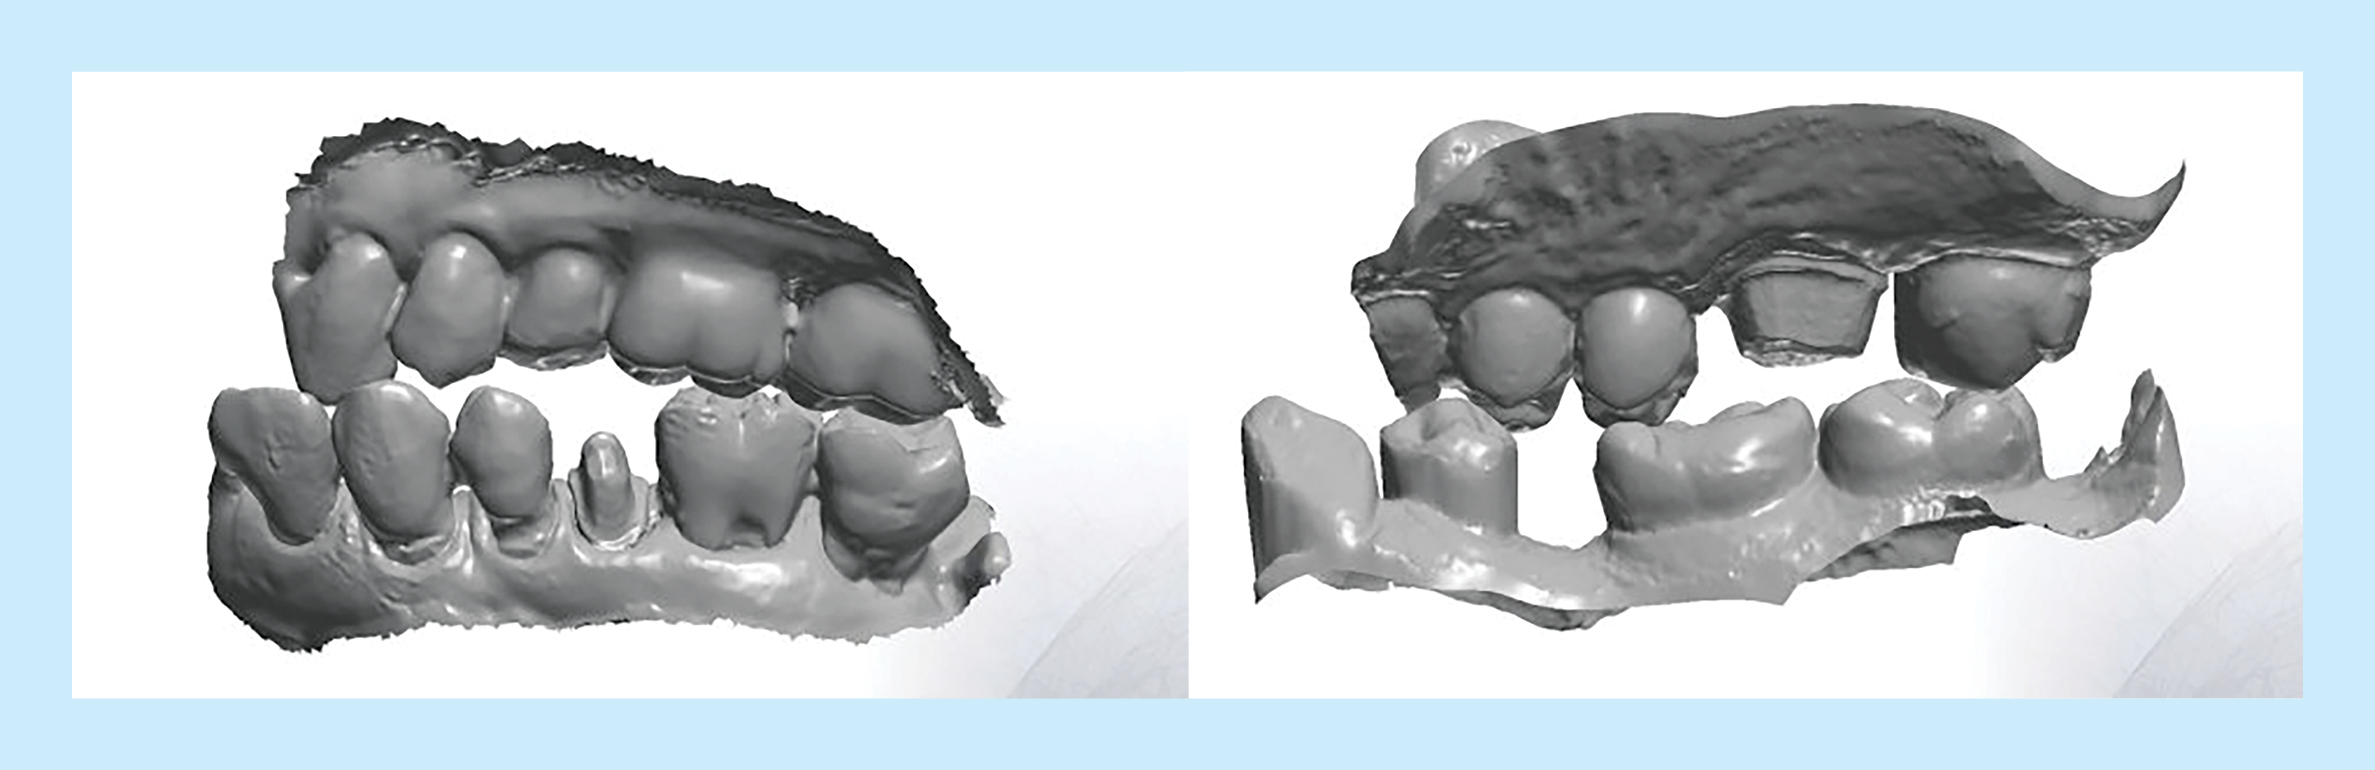
The most difficult issue to identify is misalignment in the bite scan. This misalignment can make the patient’s bite appear open or distorted in a way that does not match reality. Misalignment in the bite scan can occur due to artifacts or interference in the buccal, usually caused by the cheeks and tongue distorting the scan. And because the severity of the misalignment can vary from barely noticeable to glaringly abnormal, you might not even notice there is an issue with the impression until you try in the restoration.
It is important to guide your patient to bite correctly when taking a bite scan. An improper bite or interference from the tongue and cheeks can lead to a poor impression, resulting in a poorly fitting restoration.
In order to avoid this issue, clearly instructing your patients how to bite and visually checking that they are in their natural occlusal position can help reduce any obstructions. Once the scan is taken, be sure to inspect the 3D model thoroughly from a buccal view. Lastly, you should capture additional buccal data from the mandibular and maxillary scans. That way, the scanner has more data and reference points to pull from when generating a model.
While some of these issues can be irritating at first, they are quickly remedied by practice. Once mastered, submitting digital impressions eventually leads to an increase in benefits when compared to traditional impression methods. Some notable improvements include:
40% fewer crown remakes due to margin issues
33% fewer remakes caused by fit issues
27% fewer complaints caused by high occlusion
$20 digital savings per unit on model-less, all-ceramic restorations
$40 off per unit on custom abutments and screw-retained implant crowns
So get scanning, and when you keep these tips and techniques in mind, you’ll reap the rewards of a digital workflow in no time!