Preparation Requirements for BruxZir Crowns
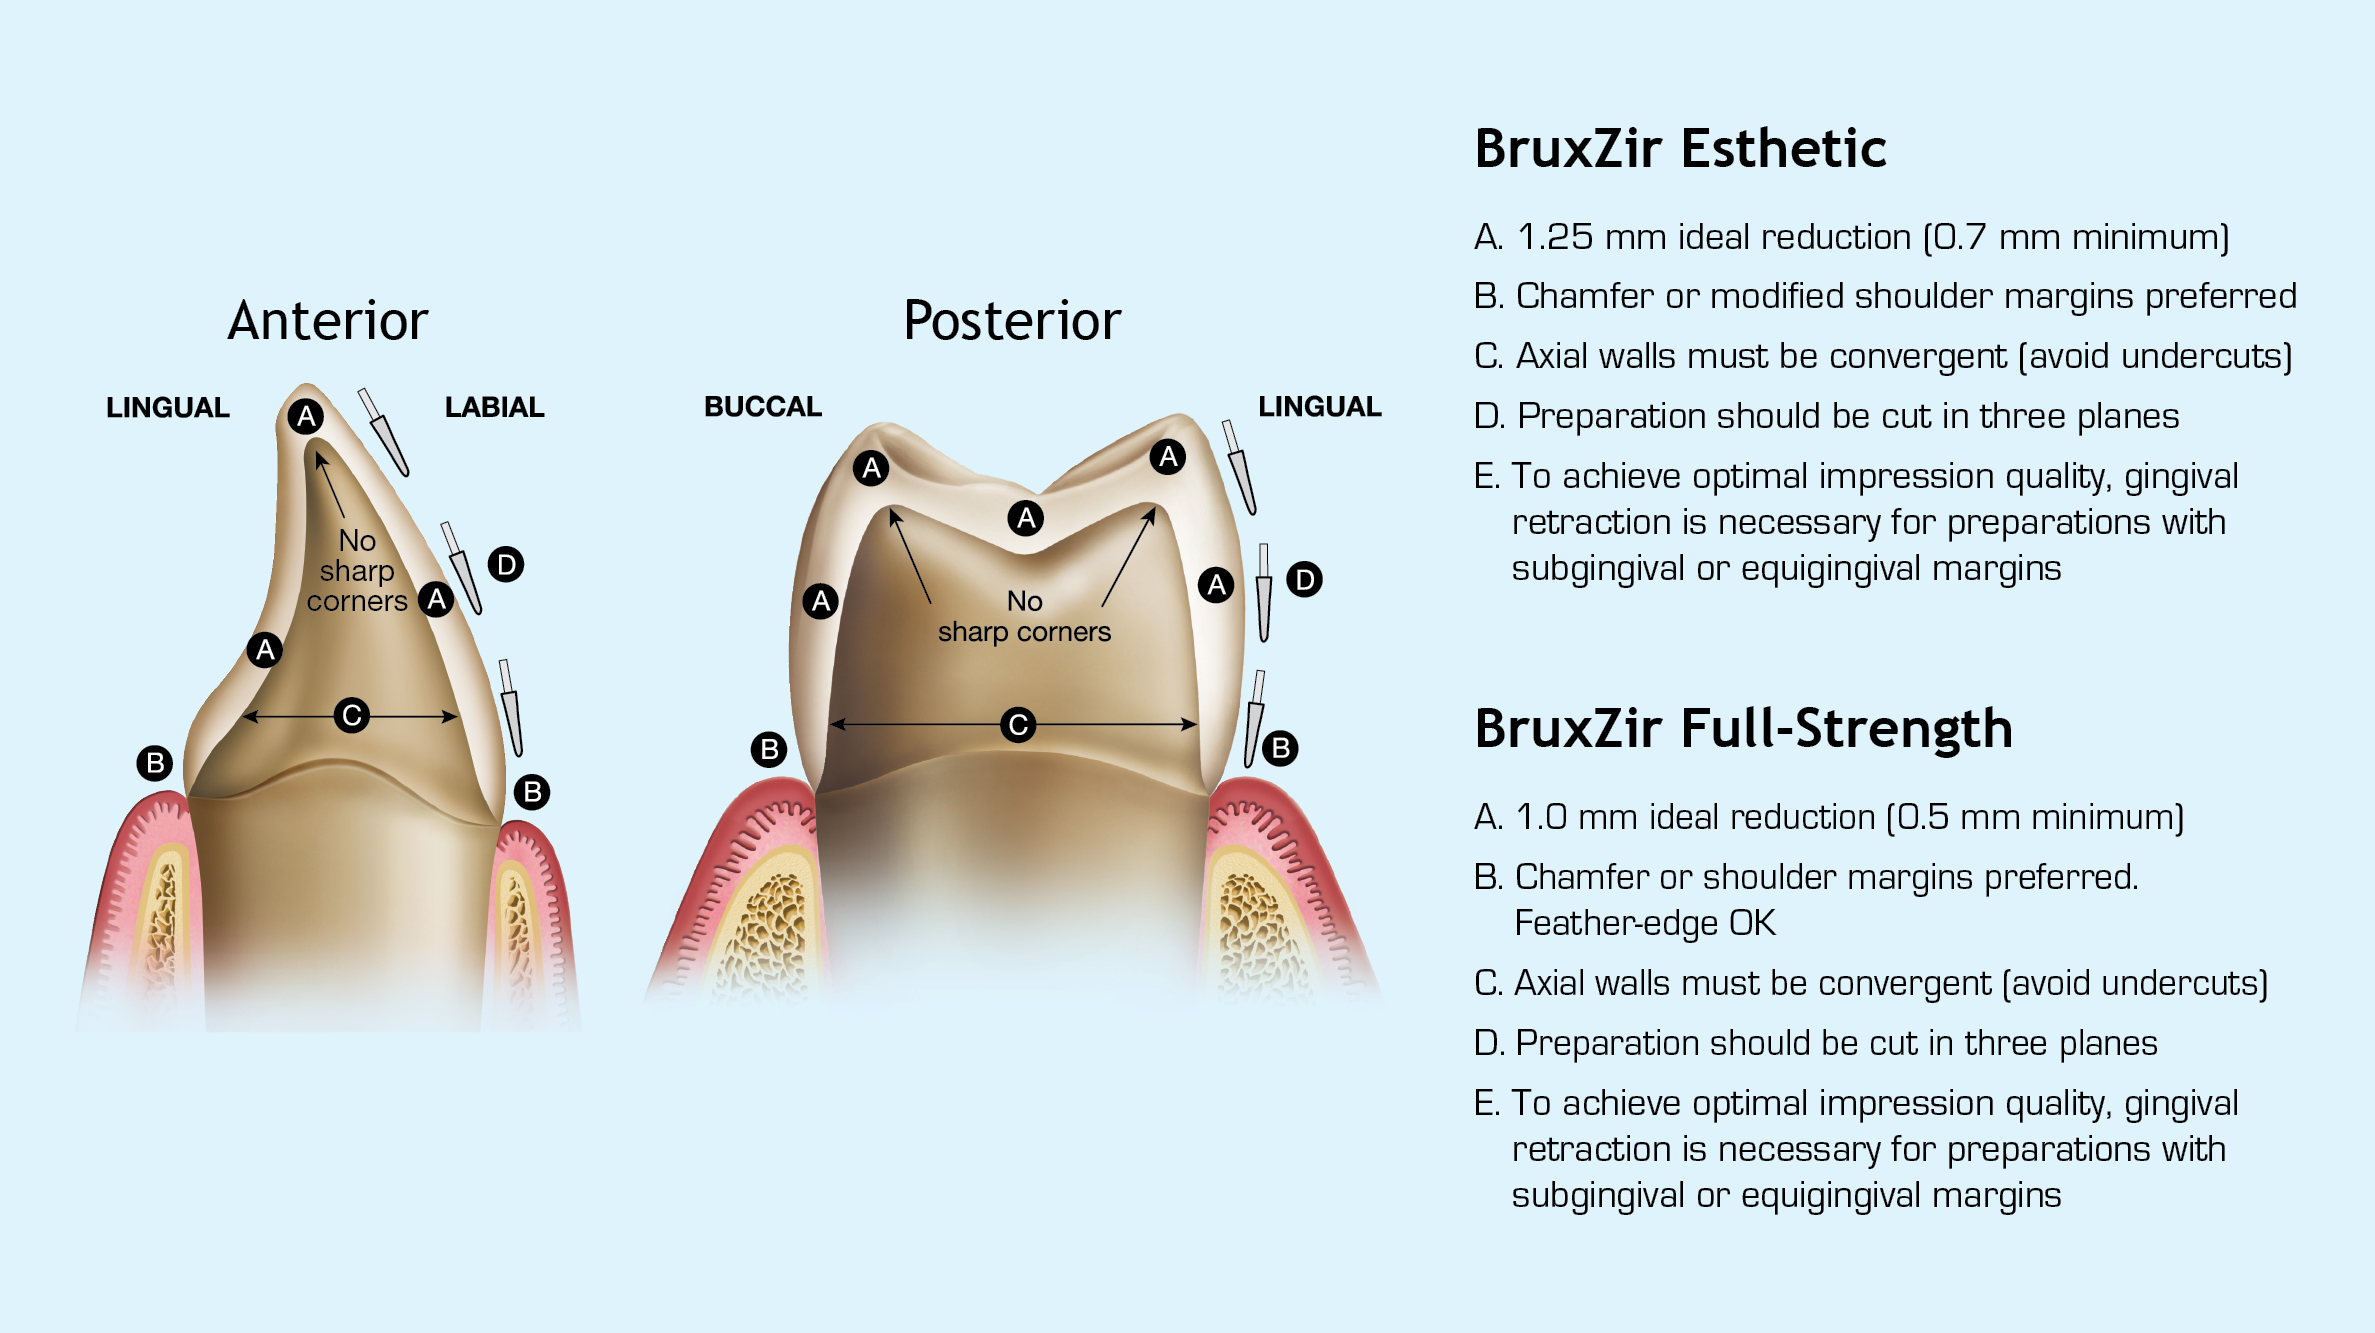
BruxZir Full-Strength crowns only require 0.5 mm of reduction, though 1.0 mm of reduction is ideal. BruxZir Esthetic crowns require 0.7 mm of reduction, though 1.25 mm of reduction is ideal. For both formulations, the margins should be prepared with either chamfer or shoulder design. Moreover, the axial walls must be convergent and undercuts must be avoided. And to achieve optimal impression quality, gingival retraction is recommended unless the margins are supragingival. Both BruxZir Full-Strength and BruxZir Esthetic provide high-performing strength even when prepared minimally.
How to Cement Zirconia Crowns
BruxZir Zirconia supports a wide array of cementation protocols, including both luting and bonding methods. After try-in, zirconia crowns become contaminated with salivary phosphates. These phosphate groups can be cleaned off so that a strong bond can be established between the tooth prep and the restoration. Leaving these salivary phosphates in place increases the risk that the restoration comes loose.
Luting Zirconia Crowns
Luting zirconia crowns is fairly straightforward. Cementation can create predictable and lasting results. The zirconia crown luting protocol is as follows:
Step 1. Try In Crown: Evaluate fit and make adjustments if necessary.
Step 2. Decontaminate Crown: Clean internal surface of restoration using one of the following options.
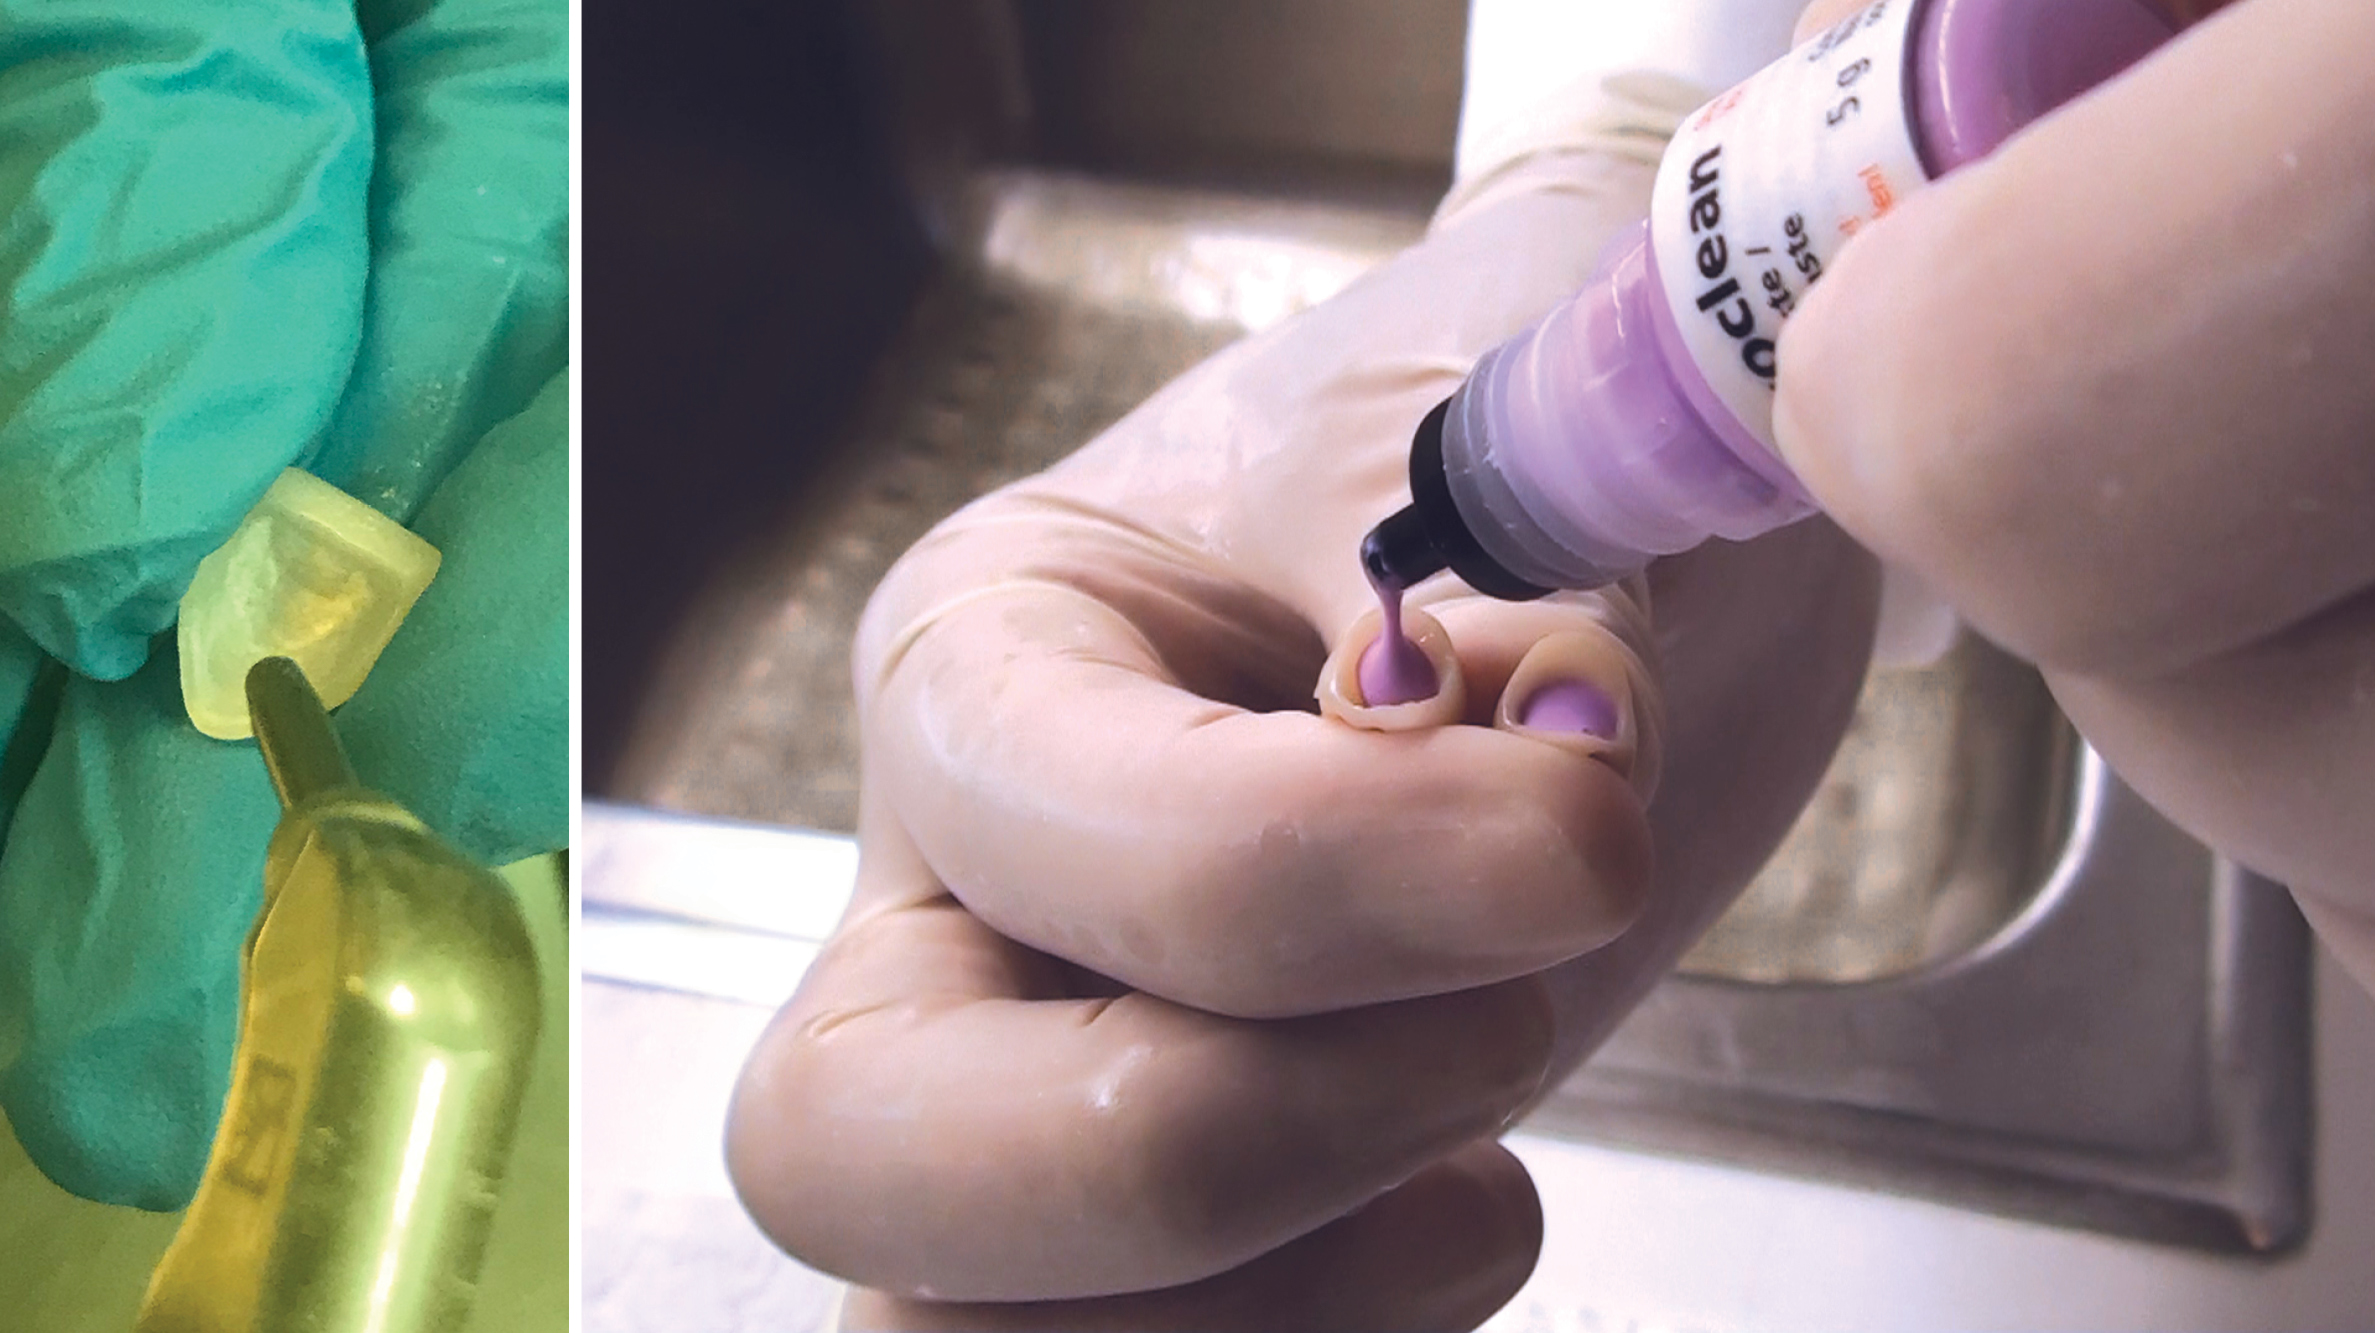
- Option A: Use a zirconia cleaner such as Ivoclean® (Ivoclar Vivadent) or ZirClean® (BISCO). Apply the cleaner to the internal surface and let sit for 20 seconds. Rinse and dry.
- Option B: Sandblast at 2 bar/30 psi for 15 seconds using a 50-micron aluminum oxide. Rinse and dry.
- Option C: Apply 5% NaClO (sodium hypochlorite) to internal surface and let sit for 20 seconds. Rinse and dry.
- NOTE: Do not clean with phosphoric acid.
Step 3. Lute Crown: Follow the cement manufacturer’s instructions.
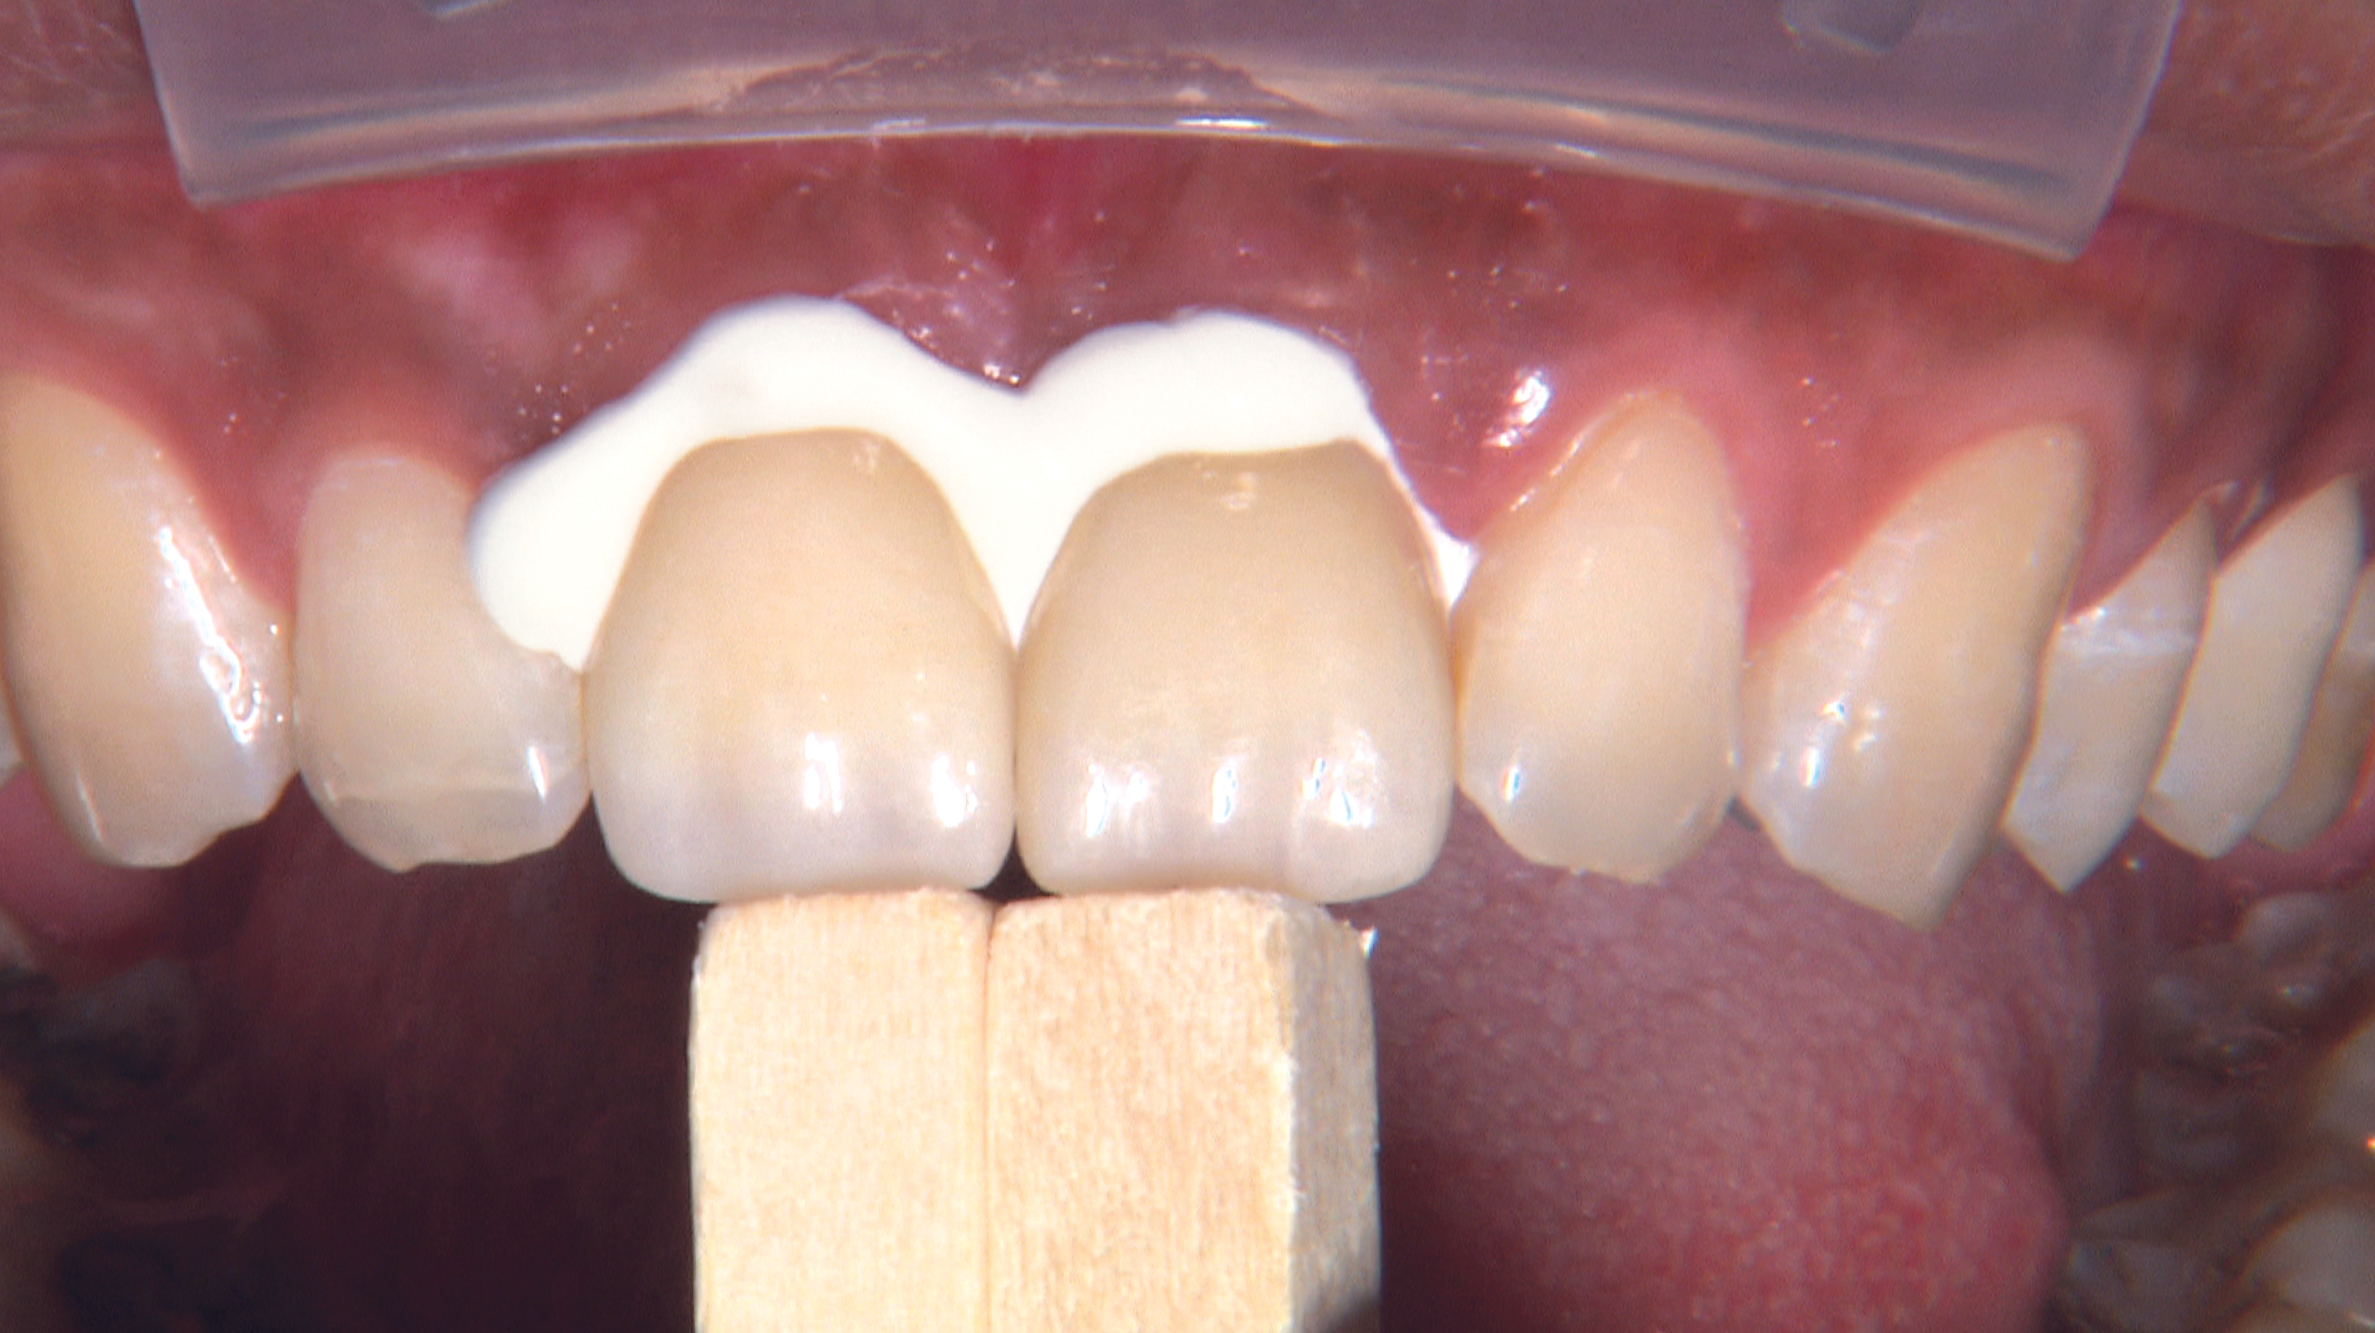
Bonding Zirconia Crowns
If dentists want to use a bonding agent for their BruxZir crowns, there are additional steps compared to the luting protocol. Those steps include ridding the intaglio surface of the BruxZir crown of contaminants and then priming for the bonding agent, as the strength of the bond between zirconia and tooth structure is determined by a combination of micromechanical retention and chemical bonding. Therefore, after the decontamination phase, application of an MDP-containing primer is used to prepare the zirconia surface for bonding. The BruxZir crown bonding protocol is as follows:
Step 1. Try In Crown: Evaluate fit and make adjustments if necessary.
Step 2. Decontaminate Crown: Clean internal surface of restoration using one of the following options.
- Option A: Use a zirconia cleaner such as Ivoclean or ZirClean. Apply the cleaner to the internal surface and let sit for 20 seconds. Rinse and dry.
- Option B: Sandblast at 2 bar/30 psi for 15 seconds using a 50-micron aluminum oxide. Rinse and dry.
- Option C: Apply 5% NaClO (sodium hypochlorite) to internal surface and let sit for 20 seconds. Rinse and dry.
- NOTE: Do not clean with phosphoric acid.
Step 3. Apply Primer to Crown: Prime internal surface of restoration using one of the following MDP-containing primers.
- Option A: Z-Prime™ Plus (BISCO) — Apply to the internal surface and dry for 3–5 seconds with an air syringe.
- Option B: Monobond Plus® (Ivoclar Vivadent) — Apply to internal surface, let react for 60 seconds, and then dry with an air syringe.
Step 4. Bond Crown: Follow bonding agent manufacturer’s instructions.
BruxZir Crowns Offer Predictable and Excellent Results
BruxZir is designed to be clinician-friendly and usable for a wide array of oral situations. Moreover, clinicians can follow their preferred chairside protocol and still achieve lasting care.

